News & Ideas
Free QuoteCountertop Hazards: What Causes Etching & Staining on Stone Surfaces?
The holidays are one of the busiest times of year for stone damage. Between cooking, parties, decorations, and extra foot traffic, marble, travertine, and limestone surfaces take a hit. Here are the most common culprits — and how to prevent them. 1. Holiday Drinks:...
What a Stone Restoration Company Can Do for Your Countertops, Vanities & Kitchen Islands
Professional Stone Care in Atlanta, Buckhead, Brookhaven, Sandy Springs & BeyondNatural stone surfaces are the centerpiece of today’s kitchens and baths. Whether it’s a sleek marble island, a granite vanity, or a quartzite countertop built for daily living, stone...
Tile & Grout Cleaning: What Homeowners Search for Most
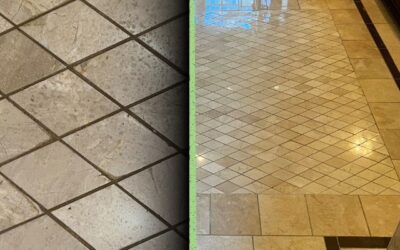
Tile & Grout Cleaning in Atlanta: What Homeowners Search for Most Tile and grout cleaning is one of the most common services Atlanta homeowners research—whether they’re preparing for guests, refreshing their space, or tackling long-overdue projects. Kitchens,...
Best Practices to Protect Your Stone Surfaces When Entertaining
N-Motion Stone & Tile Restoration | Atlanta, GA Entertaining at home is one of the joys of the season. But busy kitchens, drink stations, and high-traffic gathering areas can put real stress on your stone countertops, floors, and bathroom surfaces. Whether you’re...
Calacatta Gold Marble Restored & Protected with MORE® AntiEtch® in Atlanta
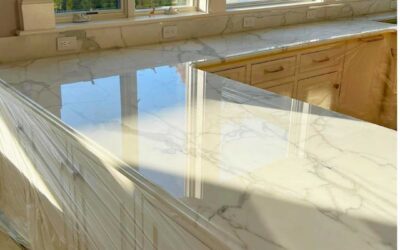
Homeowners across Georgia love marble for its beauty, elegance, and luxury feel — but it’s no secret that marble countertops can be delicate. Etching, staining, and dull spots often appear within months of installation. That’s exactly what one Atlanta homeowner...
Make It Shine Again: Expert Copper & Bronze Polishing in Georgia
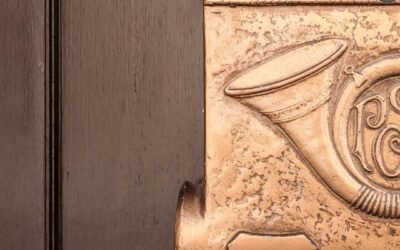
Alongside our professional stone refinishing and protection work, we also bring that same professional care and attention to copper and bronze surfaces. From decorative mailboxes and custom range hood covers to door handles, hinges, and architectural...
Protect Your Marble for Life with AntiEtch® NextGen — Now Available in Georgia
Alongside our expertise in stone refinishing and protection, N-Motion Atlanta Stone & Tile, your Georgia MORE AntiEtch certified installer and expert team is proud to offer AntiEtch® NextGen, the next evolution in professional marble protection. Whether you live...
Marble & Countertop Sealing Georgia: Protecting Your Natural Stone Investment
Searching for “marble sealing near me” or “countertop protection nearby”? Natural stone surfaces—like marble, granite, and limestone—bring unmatched beauty to homes and businesses, but they need expert care to stay looking their best. At N-Motion Stone & Tile, we...
Why Granite Benefits from Professional Cleaning & Sealing
Summary: Learn why N-Motion Stone & Tile restores and protects granite for some of Atlanta and Georgia’s most prestigious homes and businesses. We clean, polish, seal, and repair granite to restore lasting beauty. Restore & Protect Your Granite’s Natural...


